

Find an app
- Search by name or address.
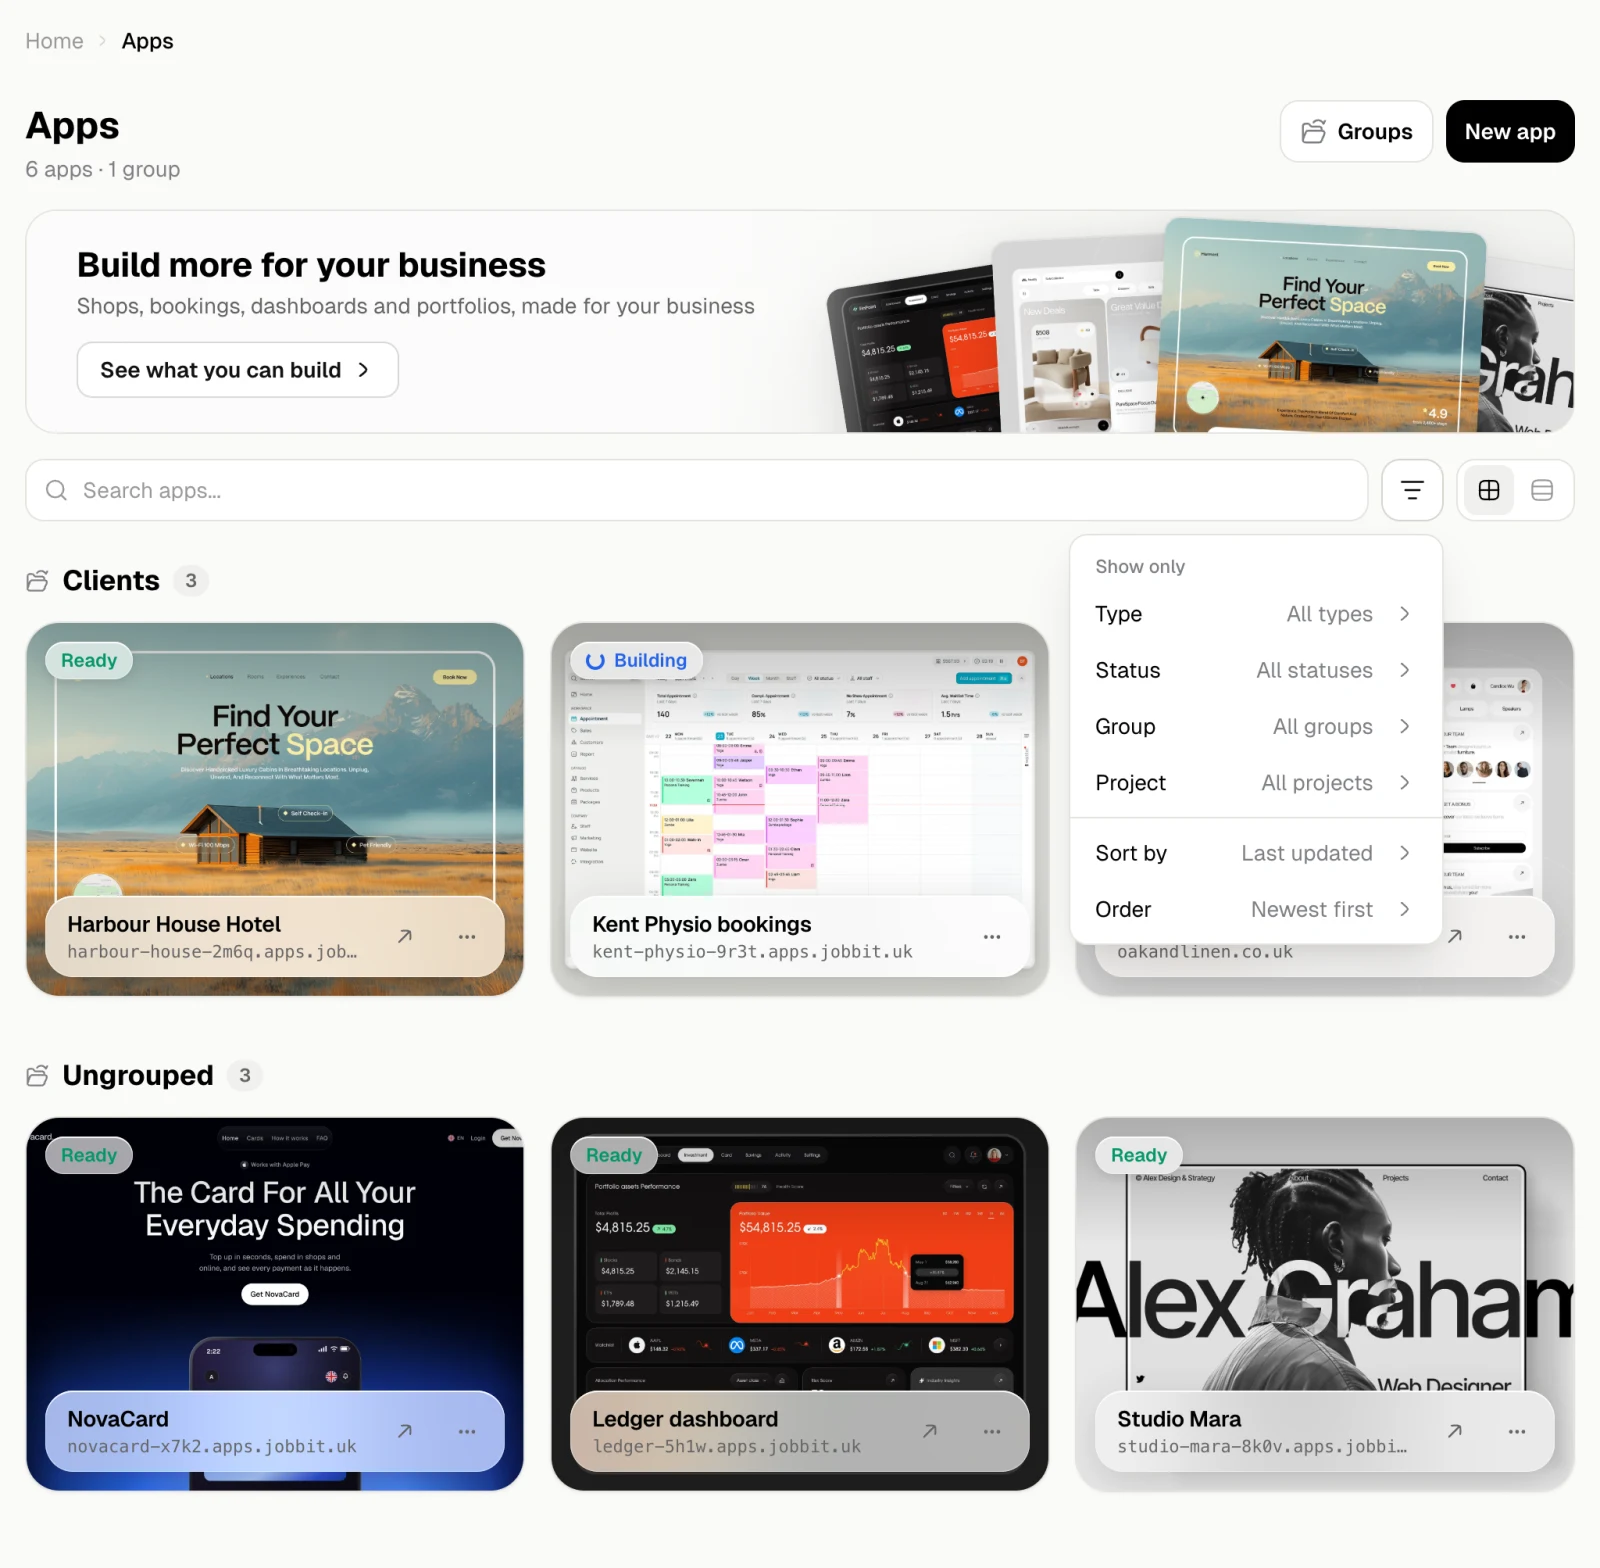
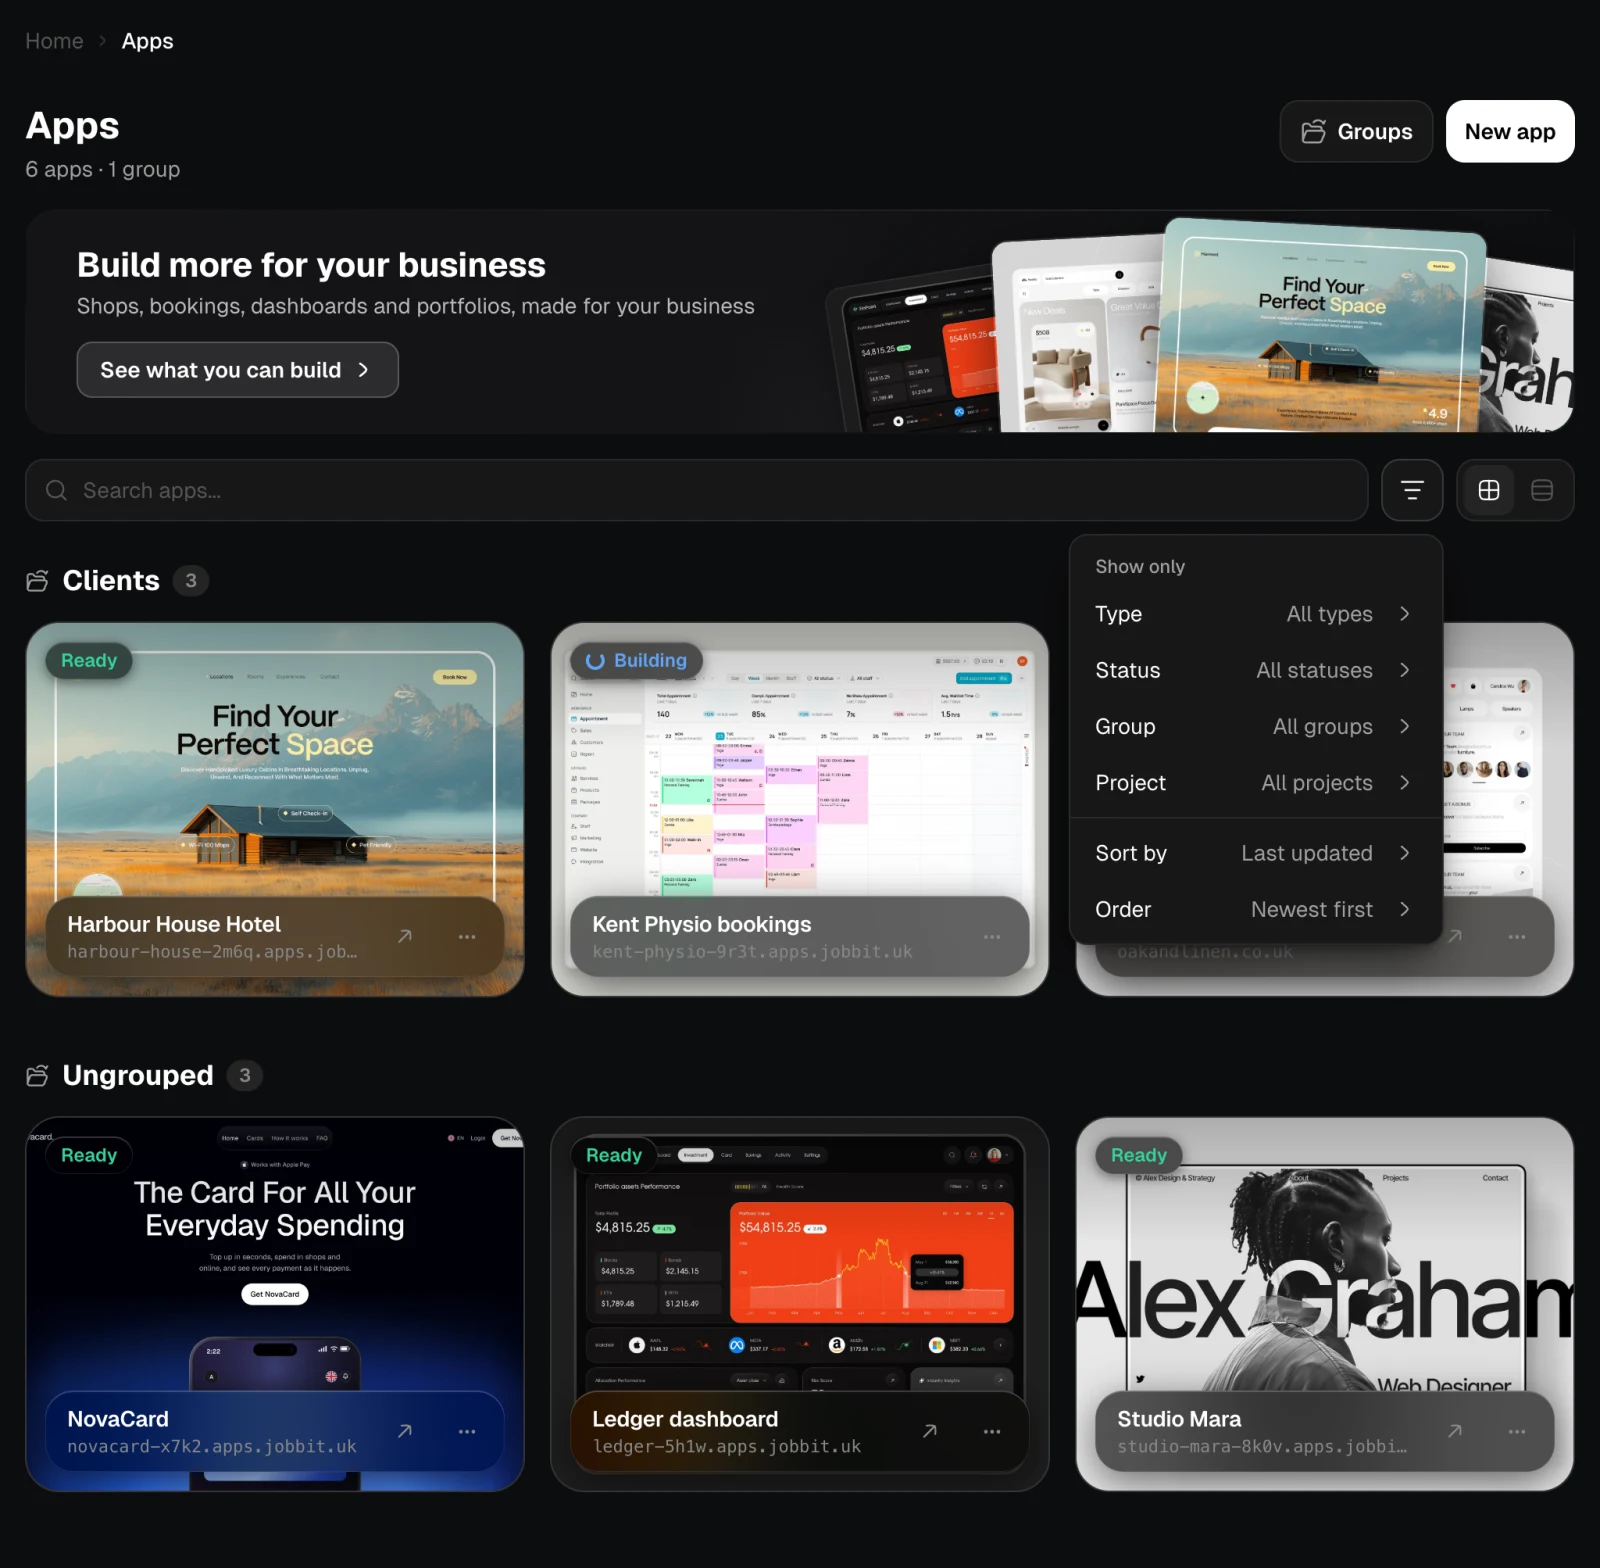
- Sort and filter (the button next to the search) narrows the list by type, status, group or project and sorts it by last update, creation date, name or status.
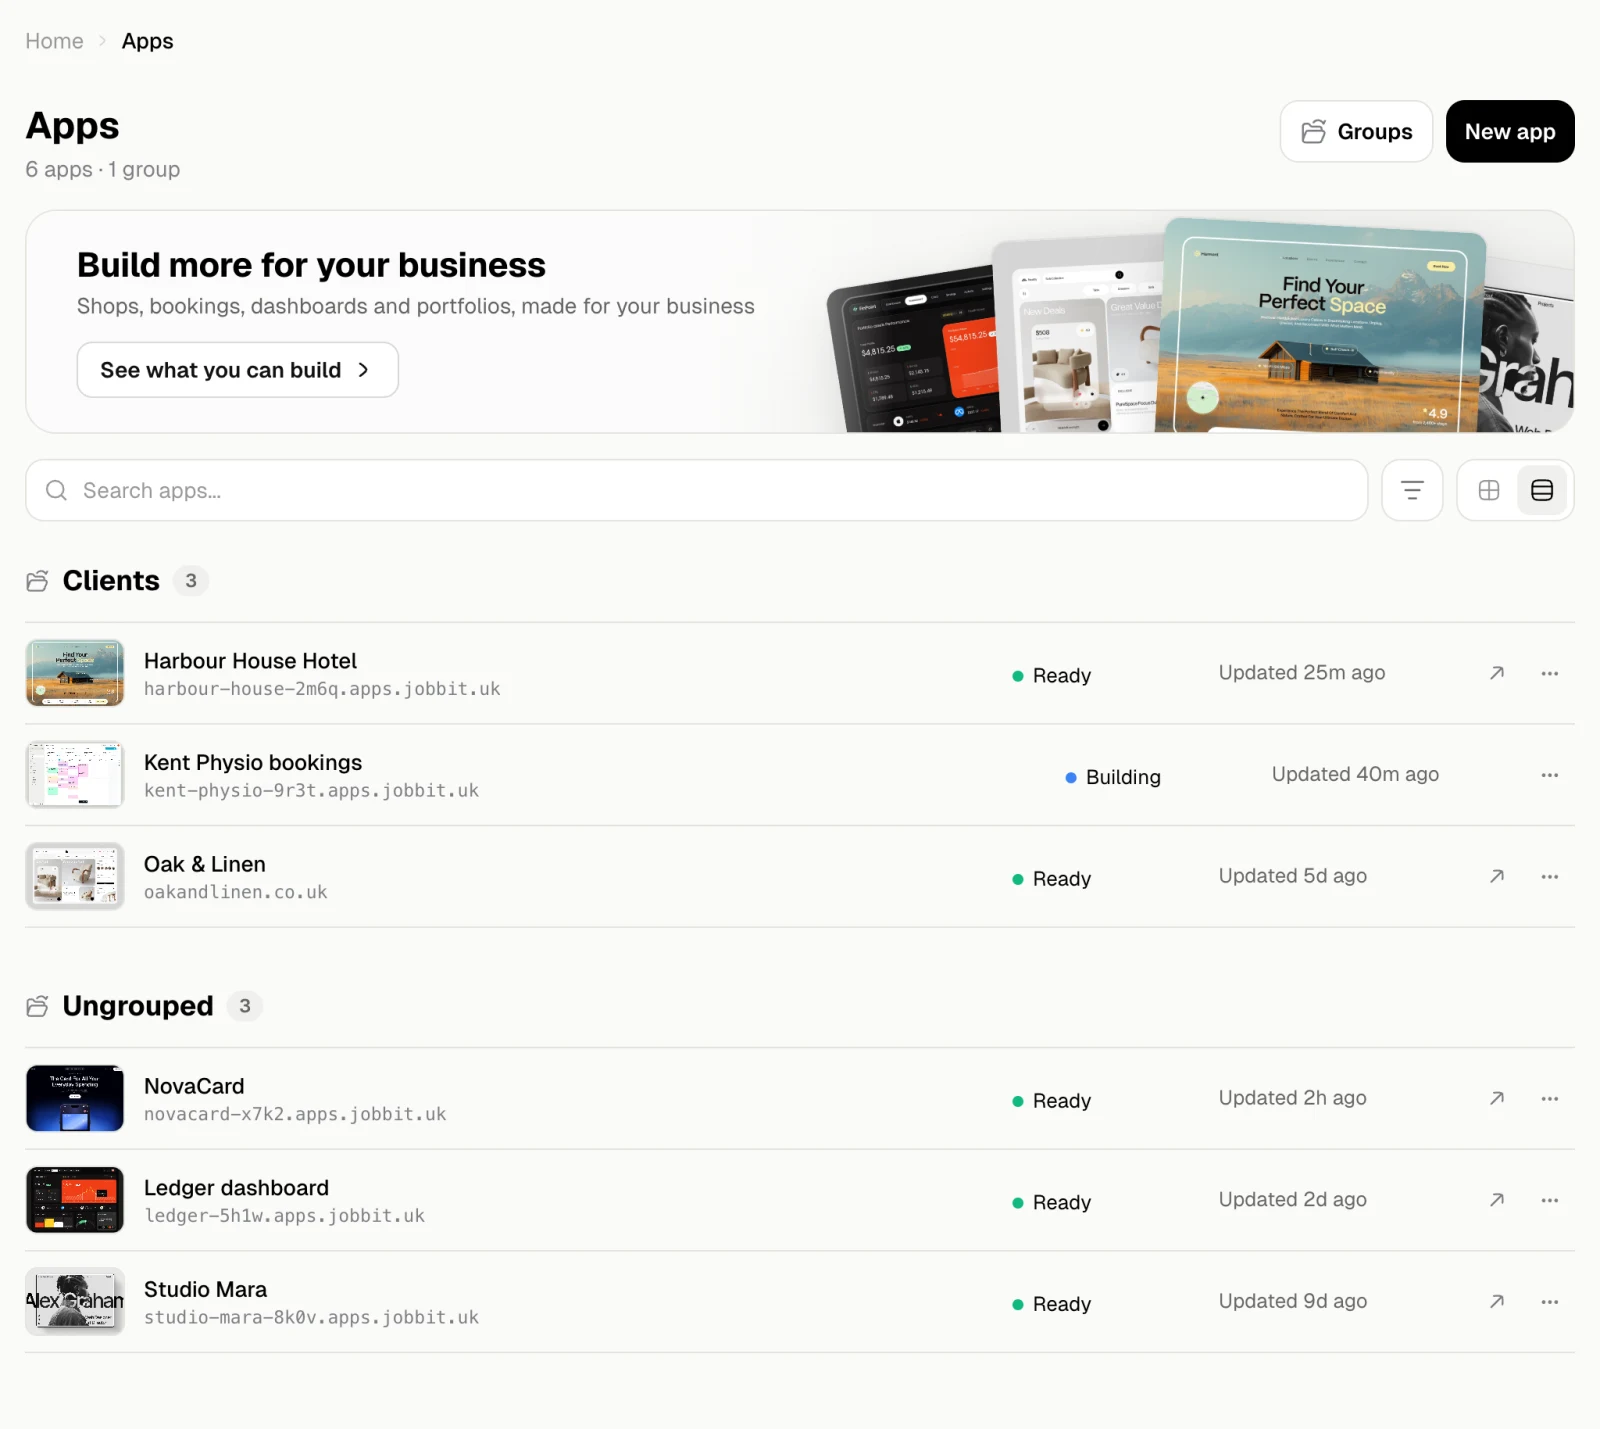
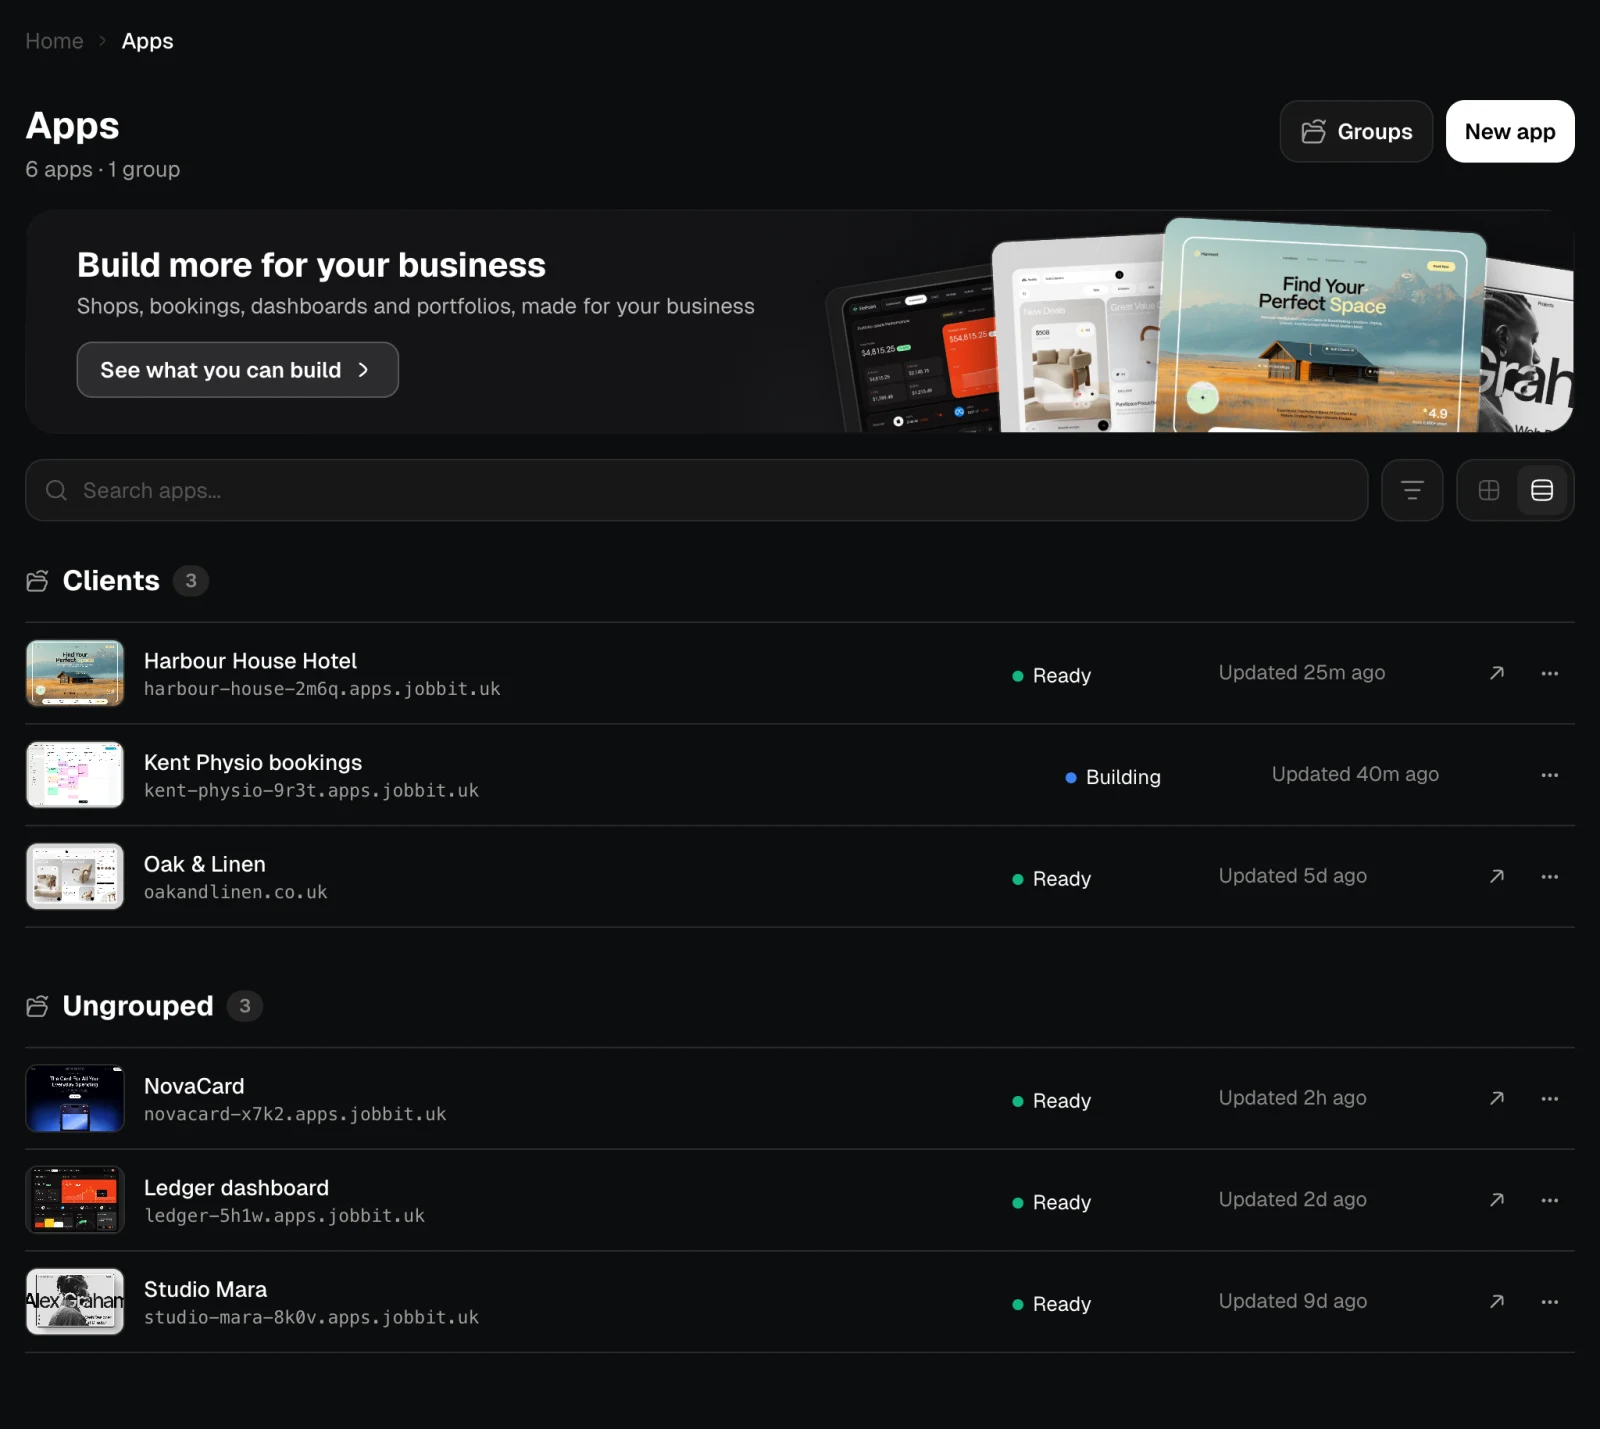
- The switch on the right shows the apps as cards or as a list with a status dot and the time of the last update.
Actions on an app
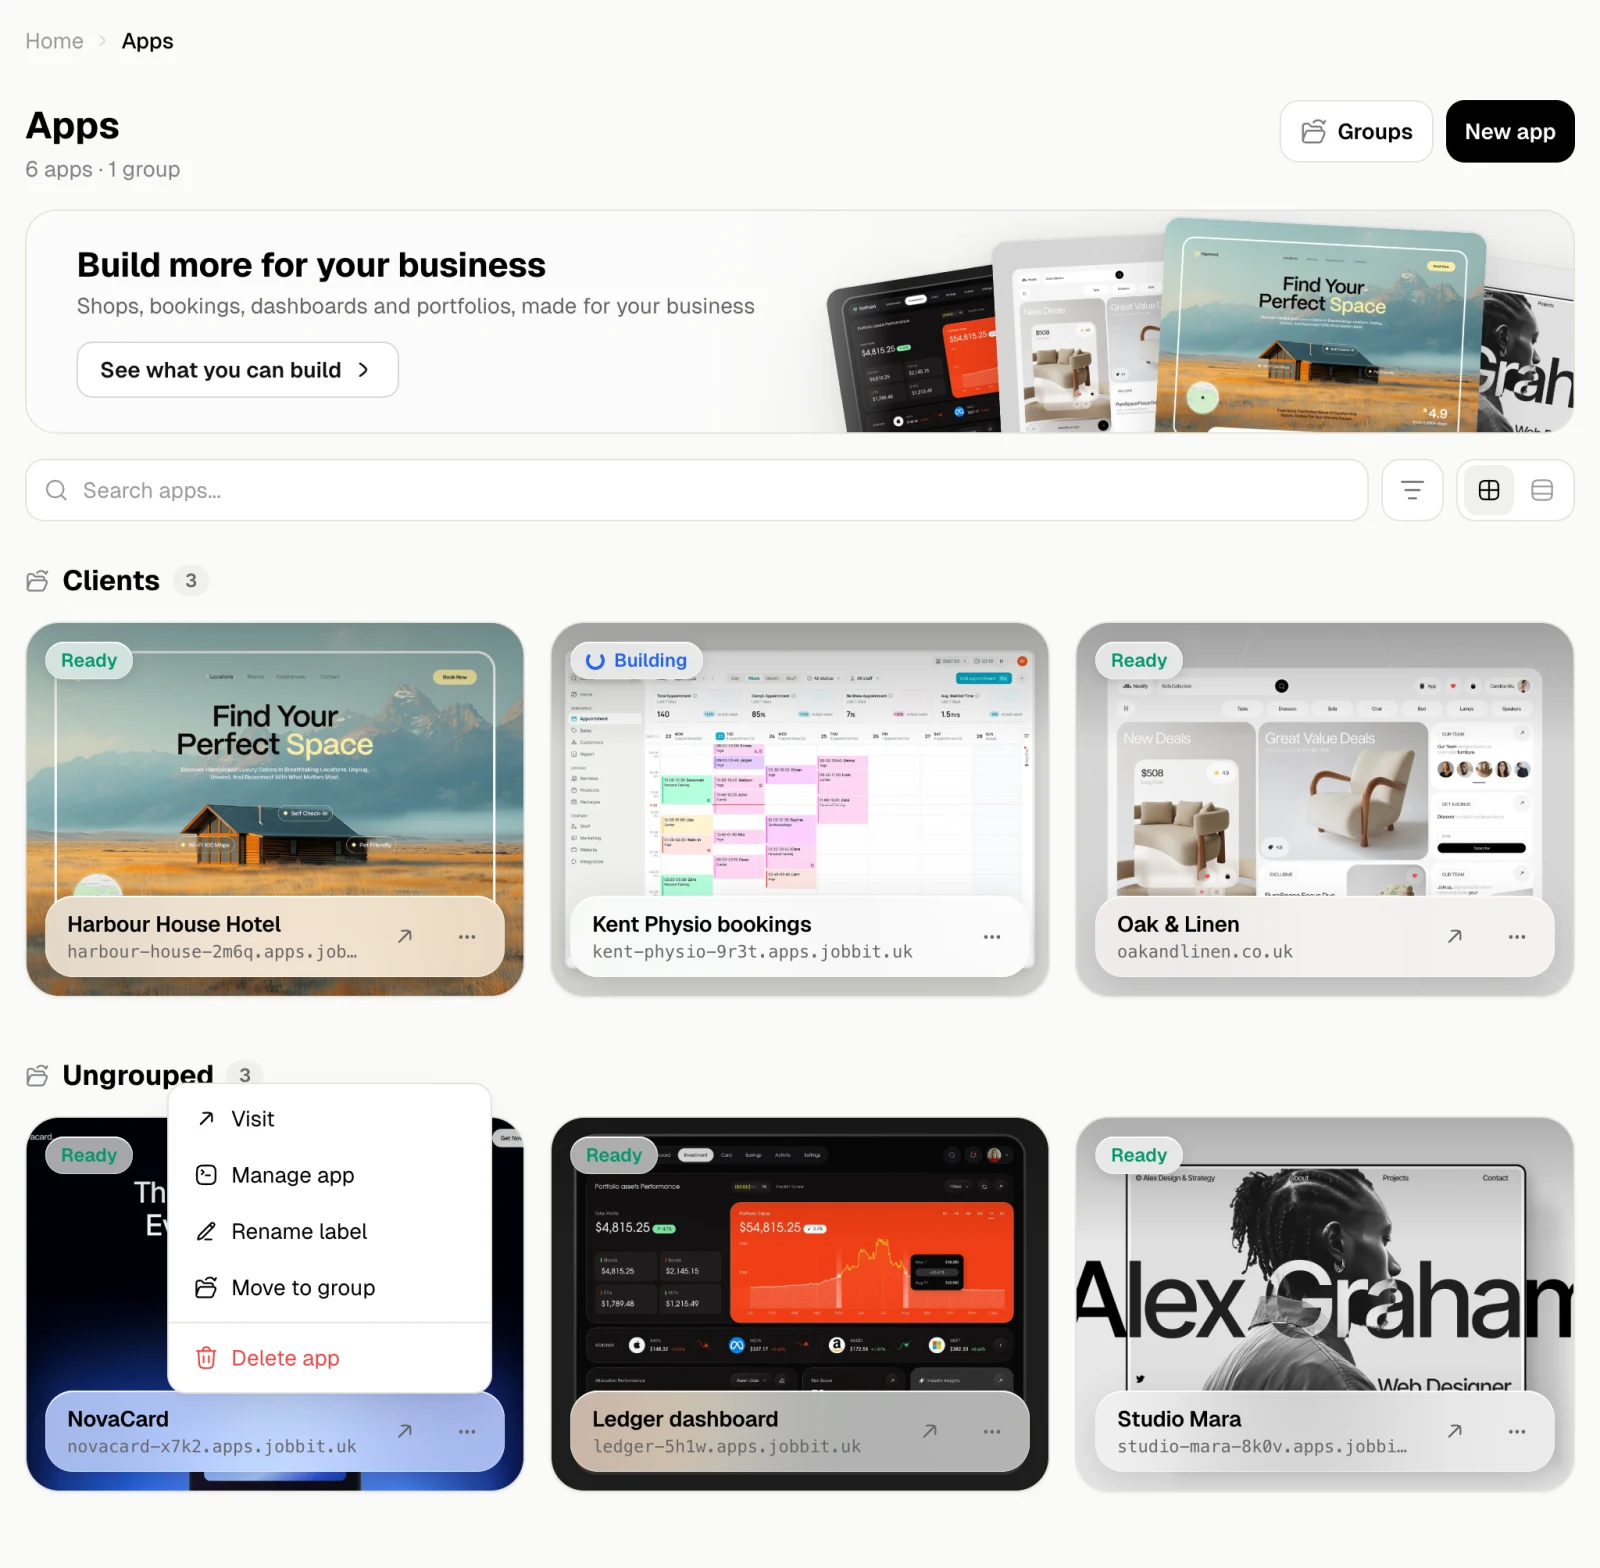
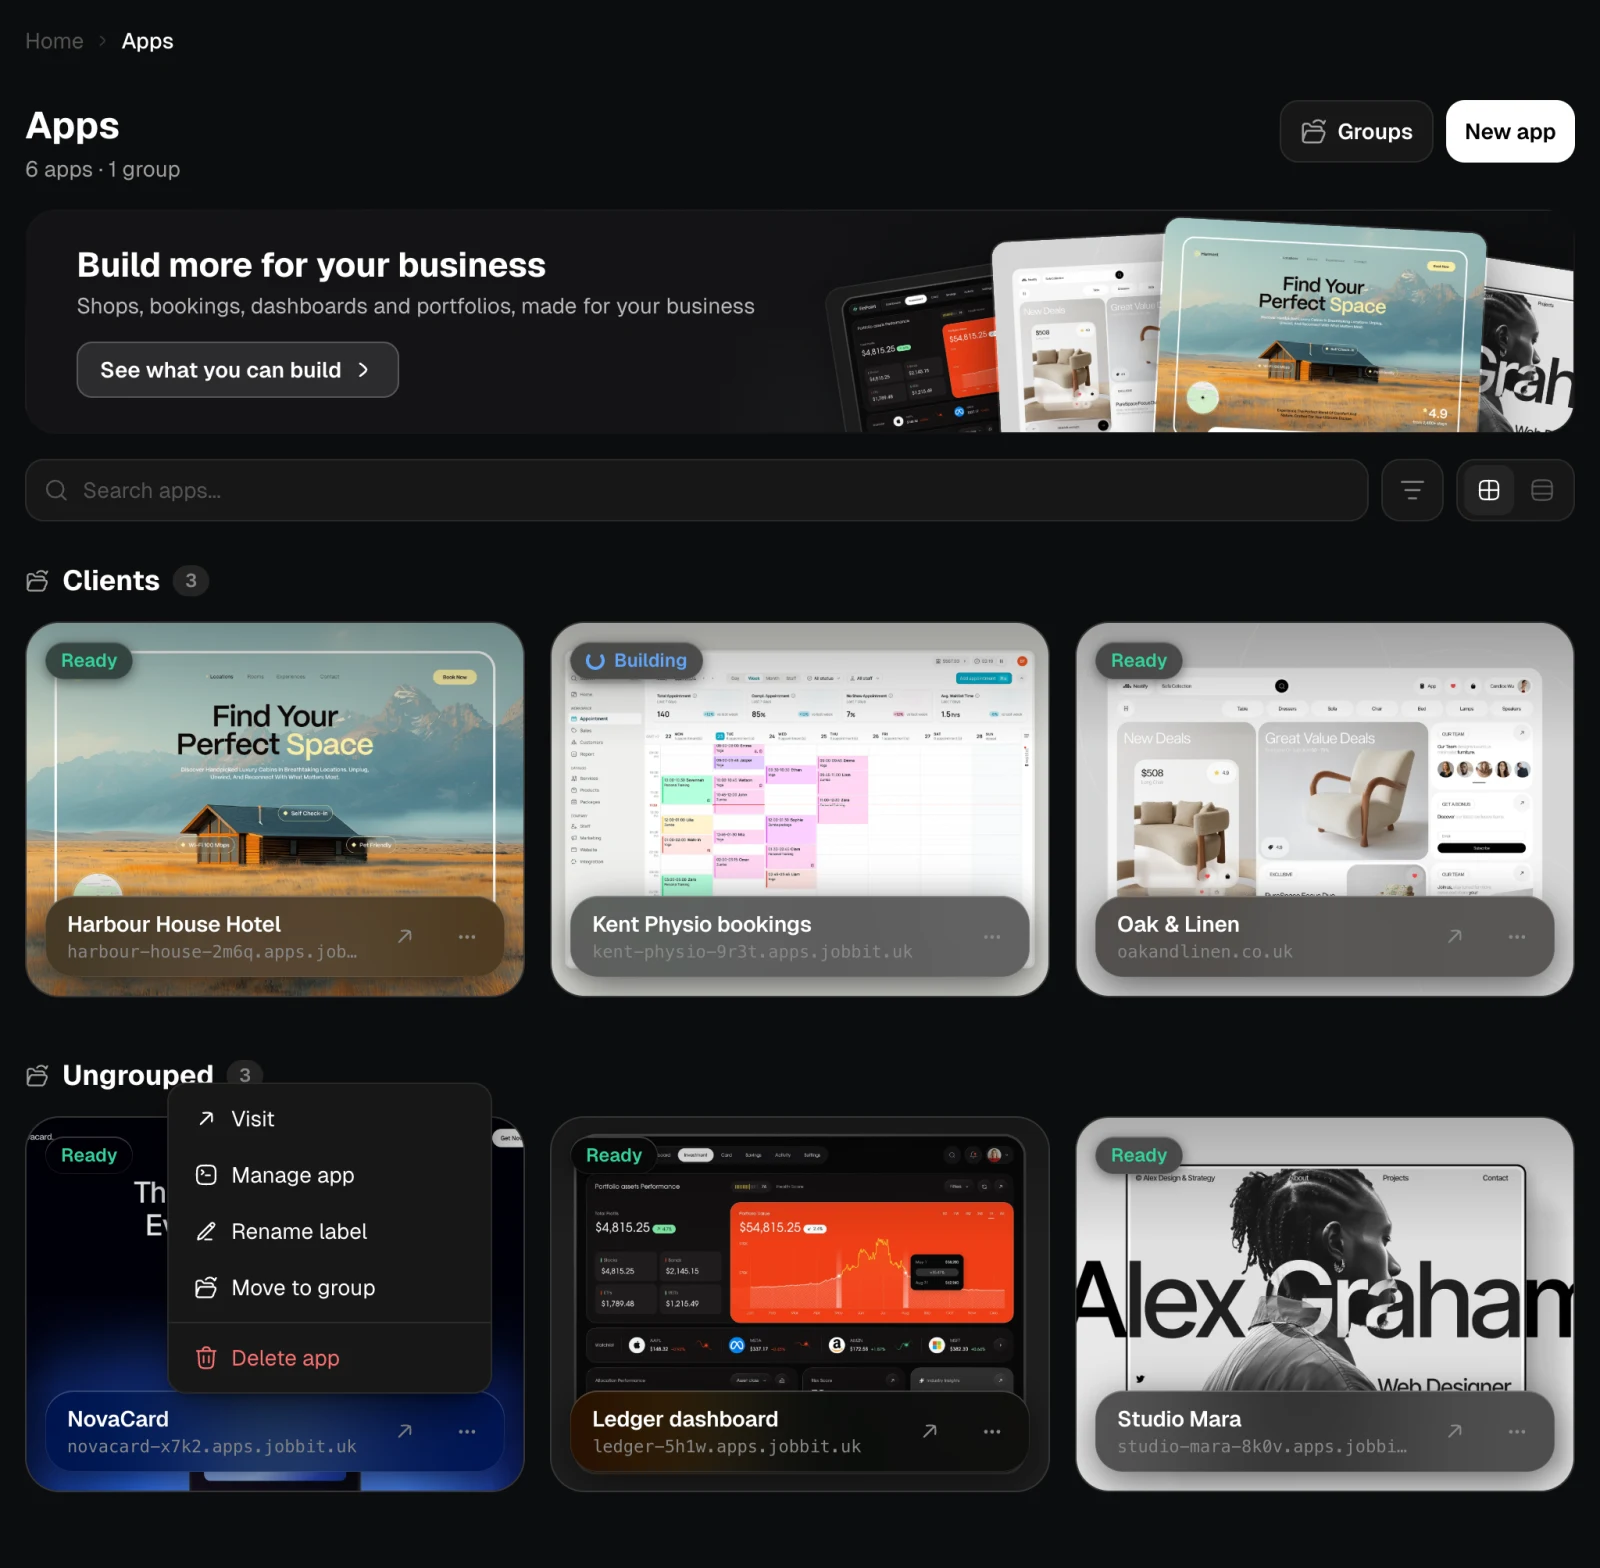
The ⋯ menu on a card has:| Action | What it does |
|---|---|
| Visit | Opens the live site in a new tab |
| Manage app | Opens the app’s page |
| Rename label | Changes the name shown in Jobbit. The app’s address stays the same |
| Move to group | Puts the app in a group, or back in Ungrouped |
| Delete app | Removes the app for good, see below |
Groups
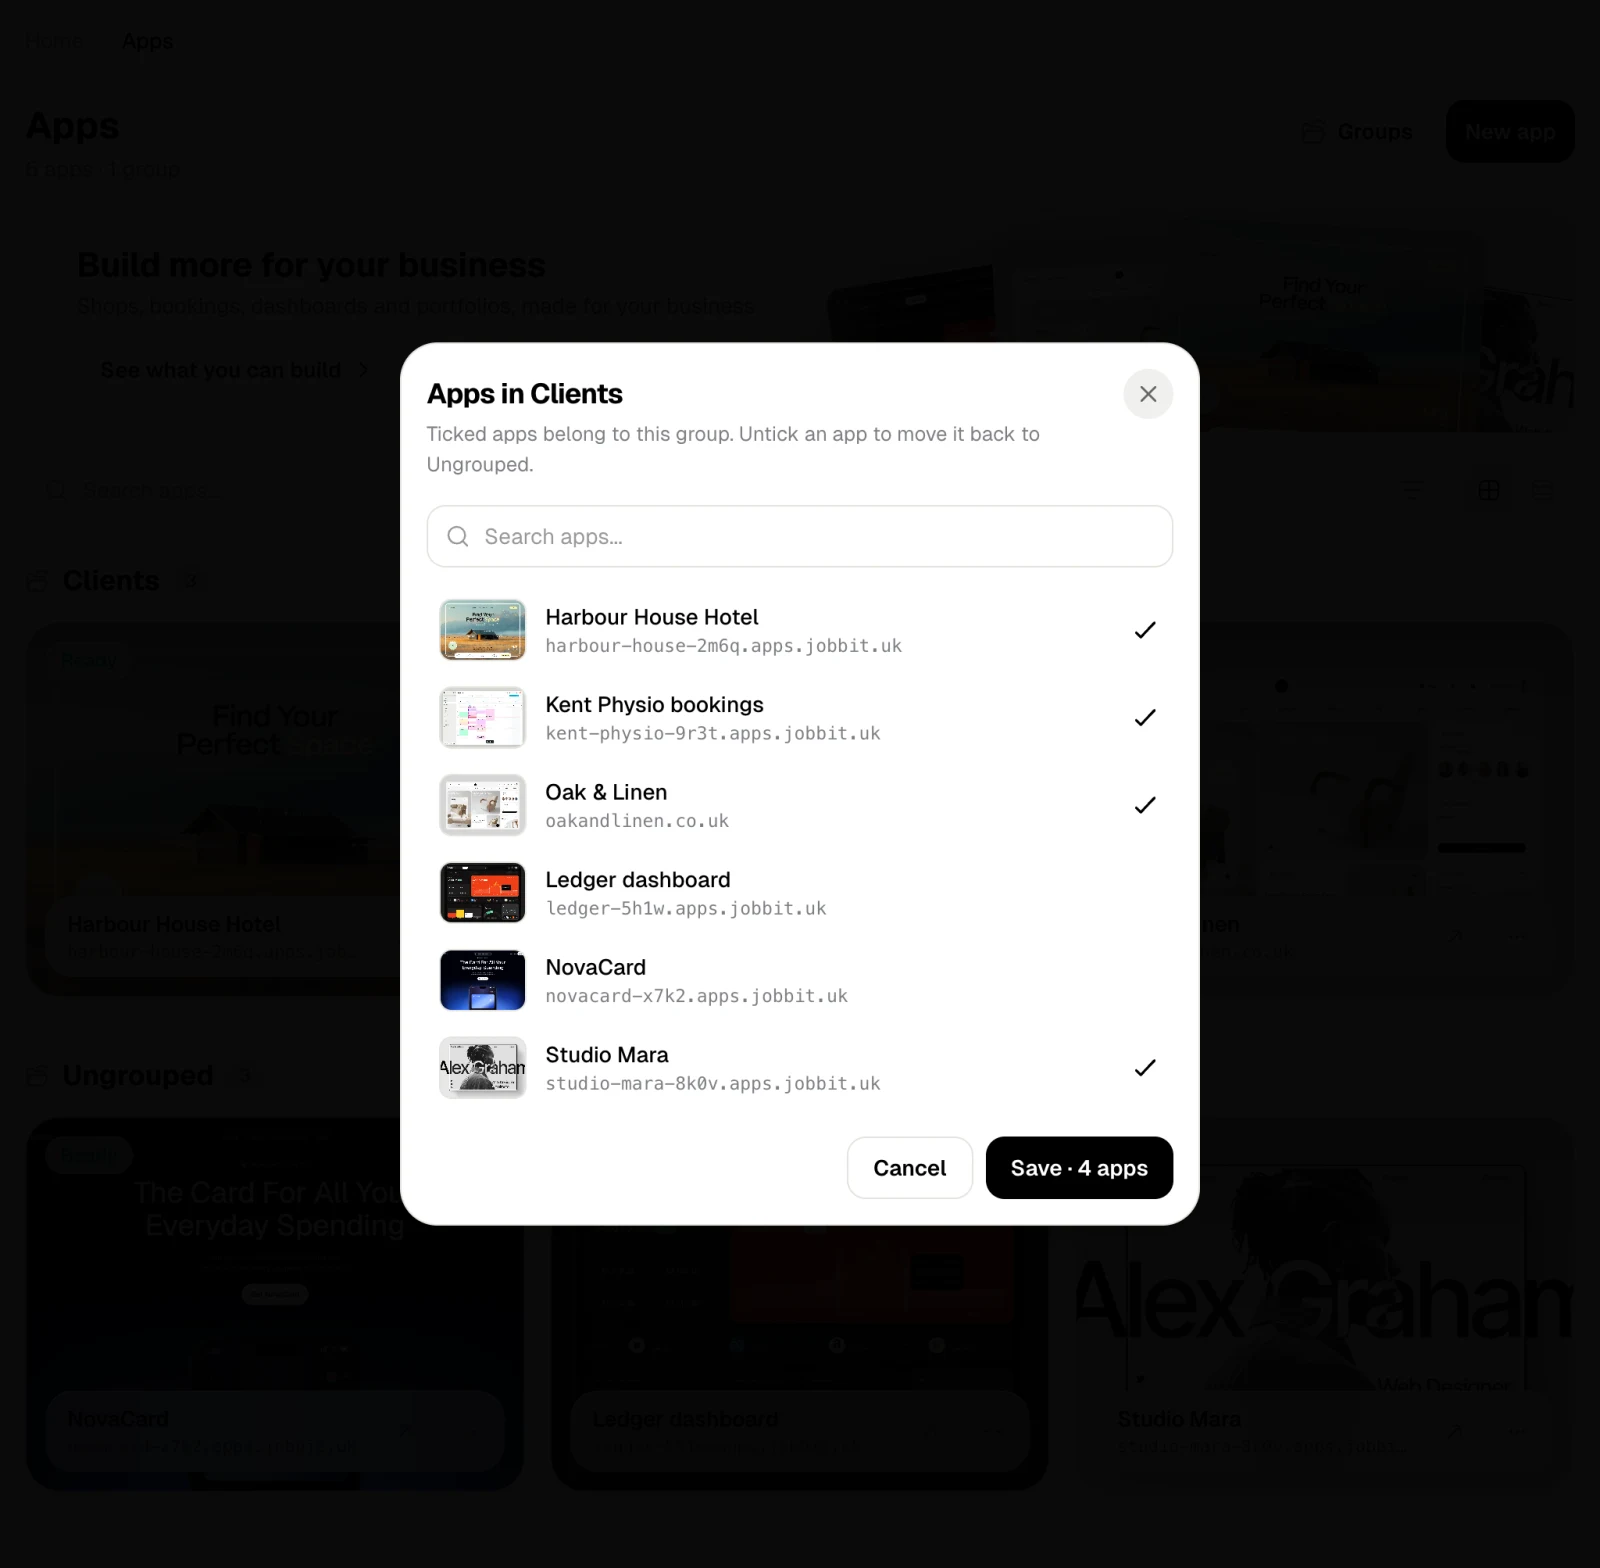
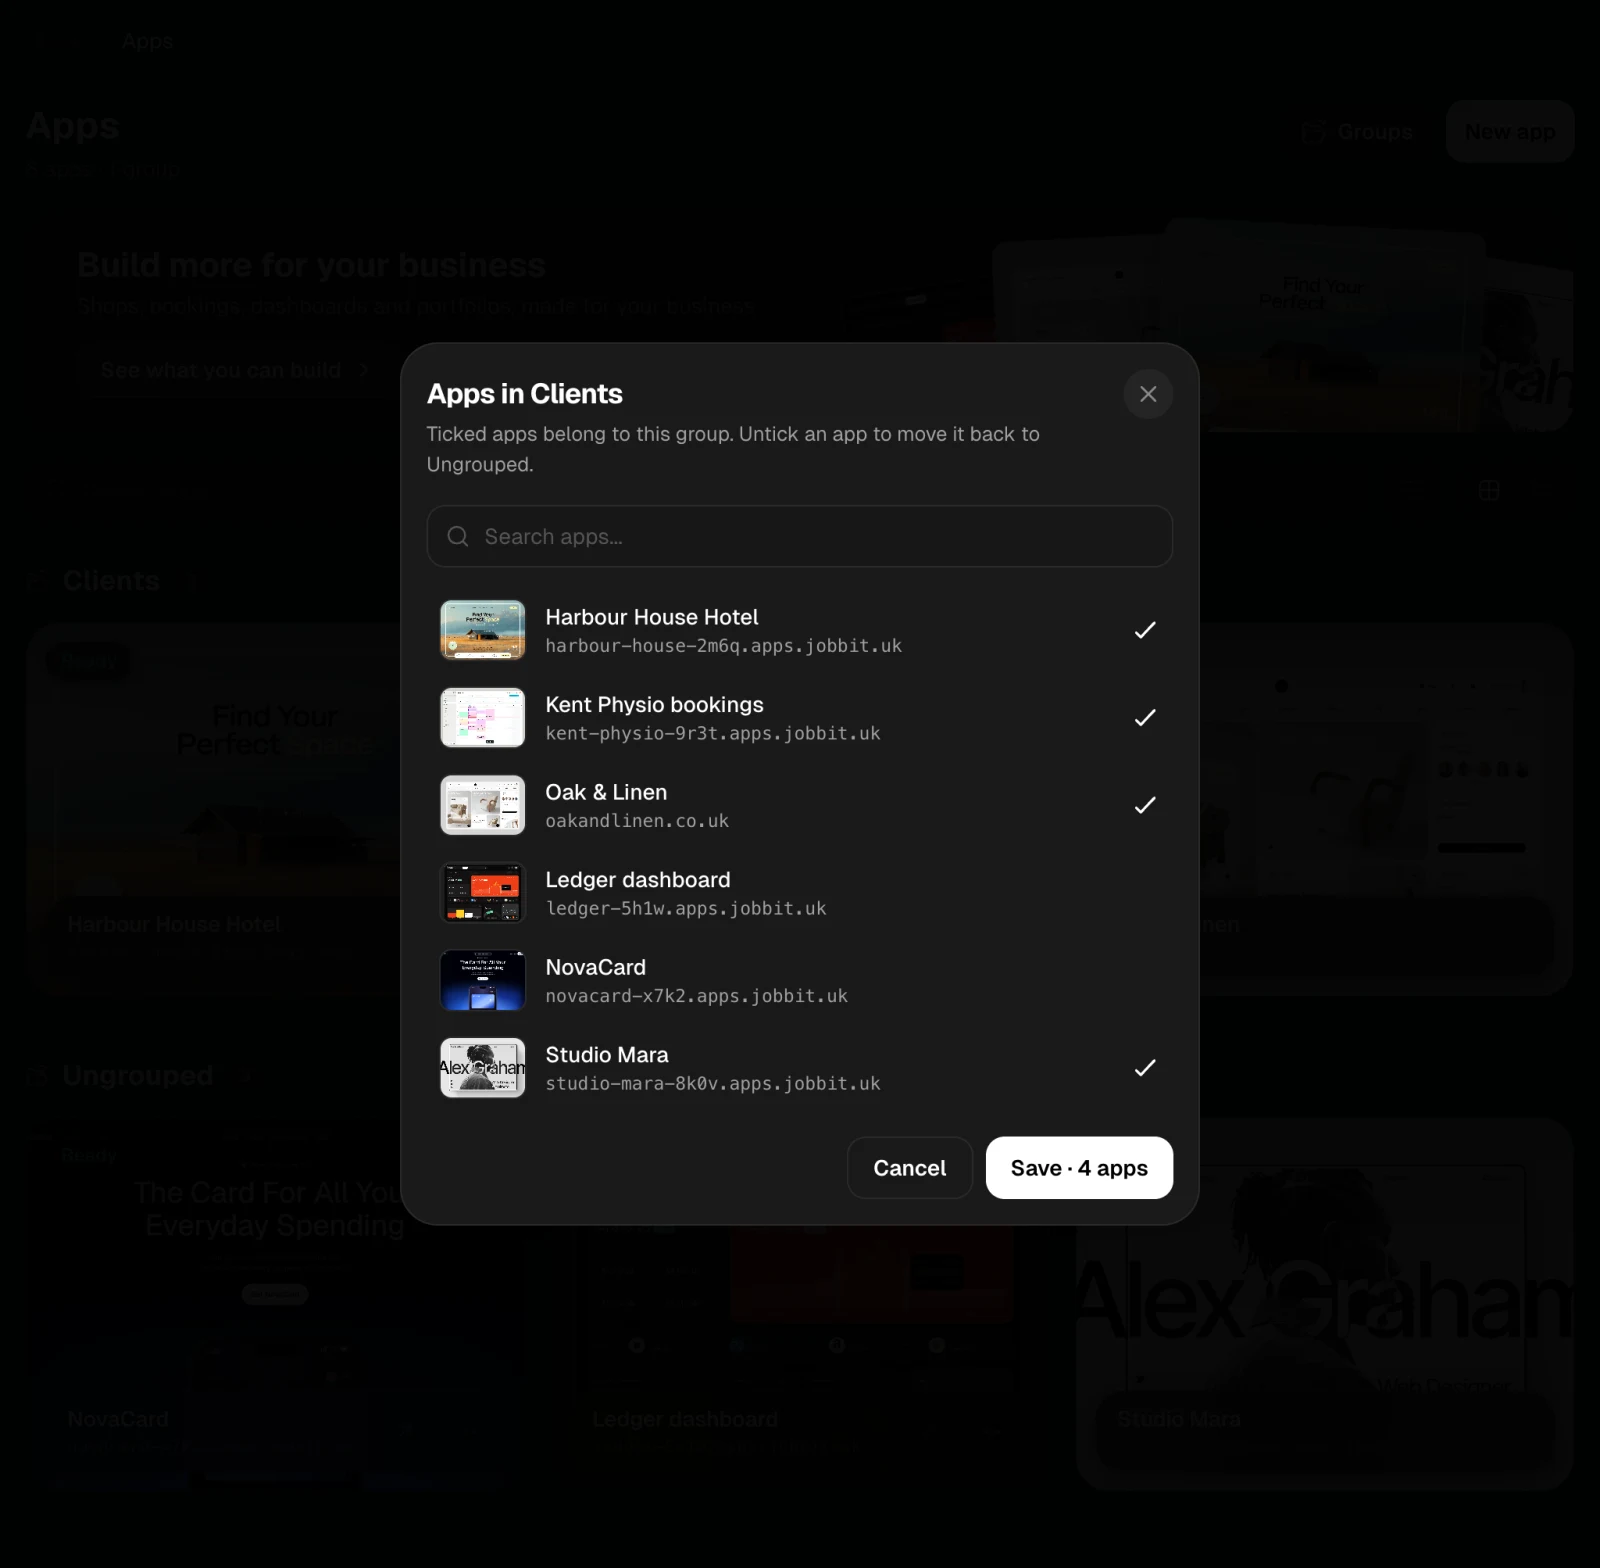
Groups sort your apps on the page, by product, client or idea. Apps outside any group are listed under Ungrouped.Open Groups
Choose Groups at the top of the page. It lists your groups and how many apps each holds.
Delete an app
Delete app removes the app and its address, releases its integrations and, if you choose, drops its database. It cannot be undone.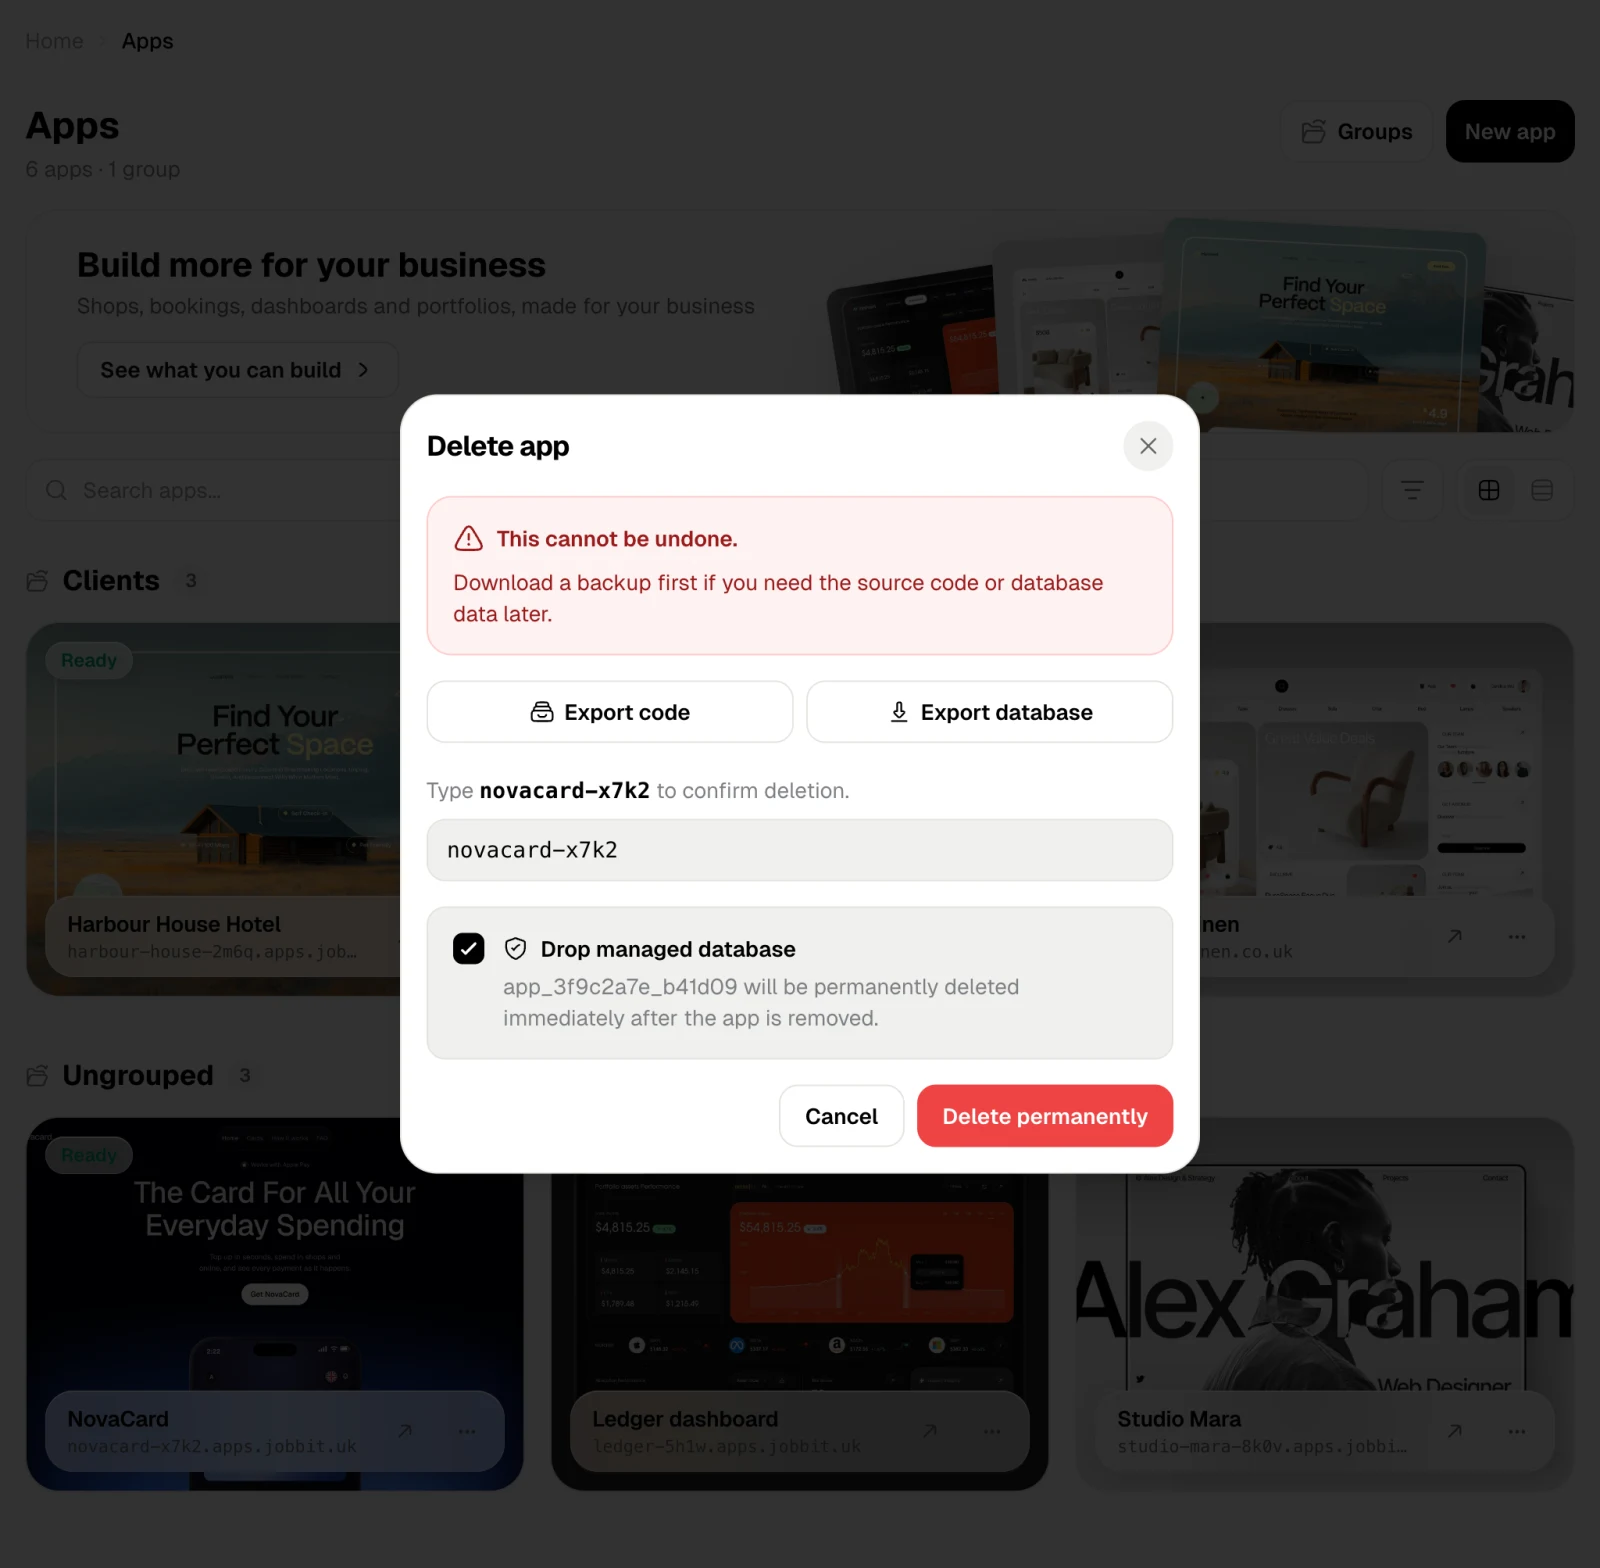
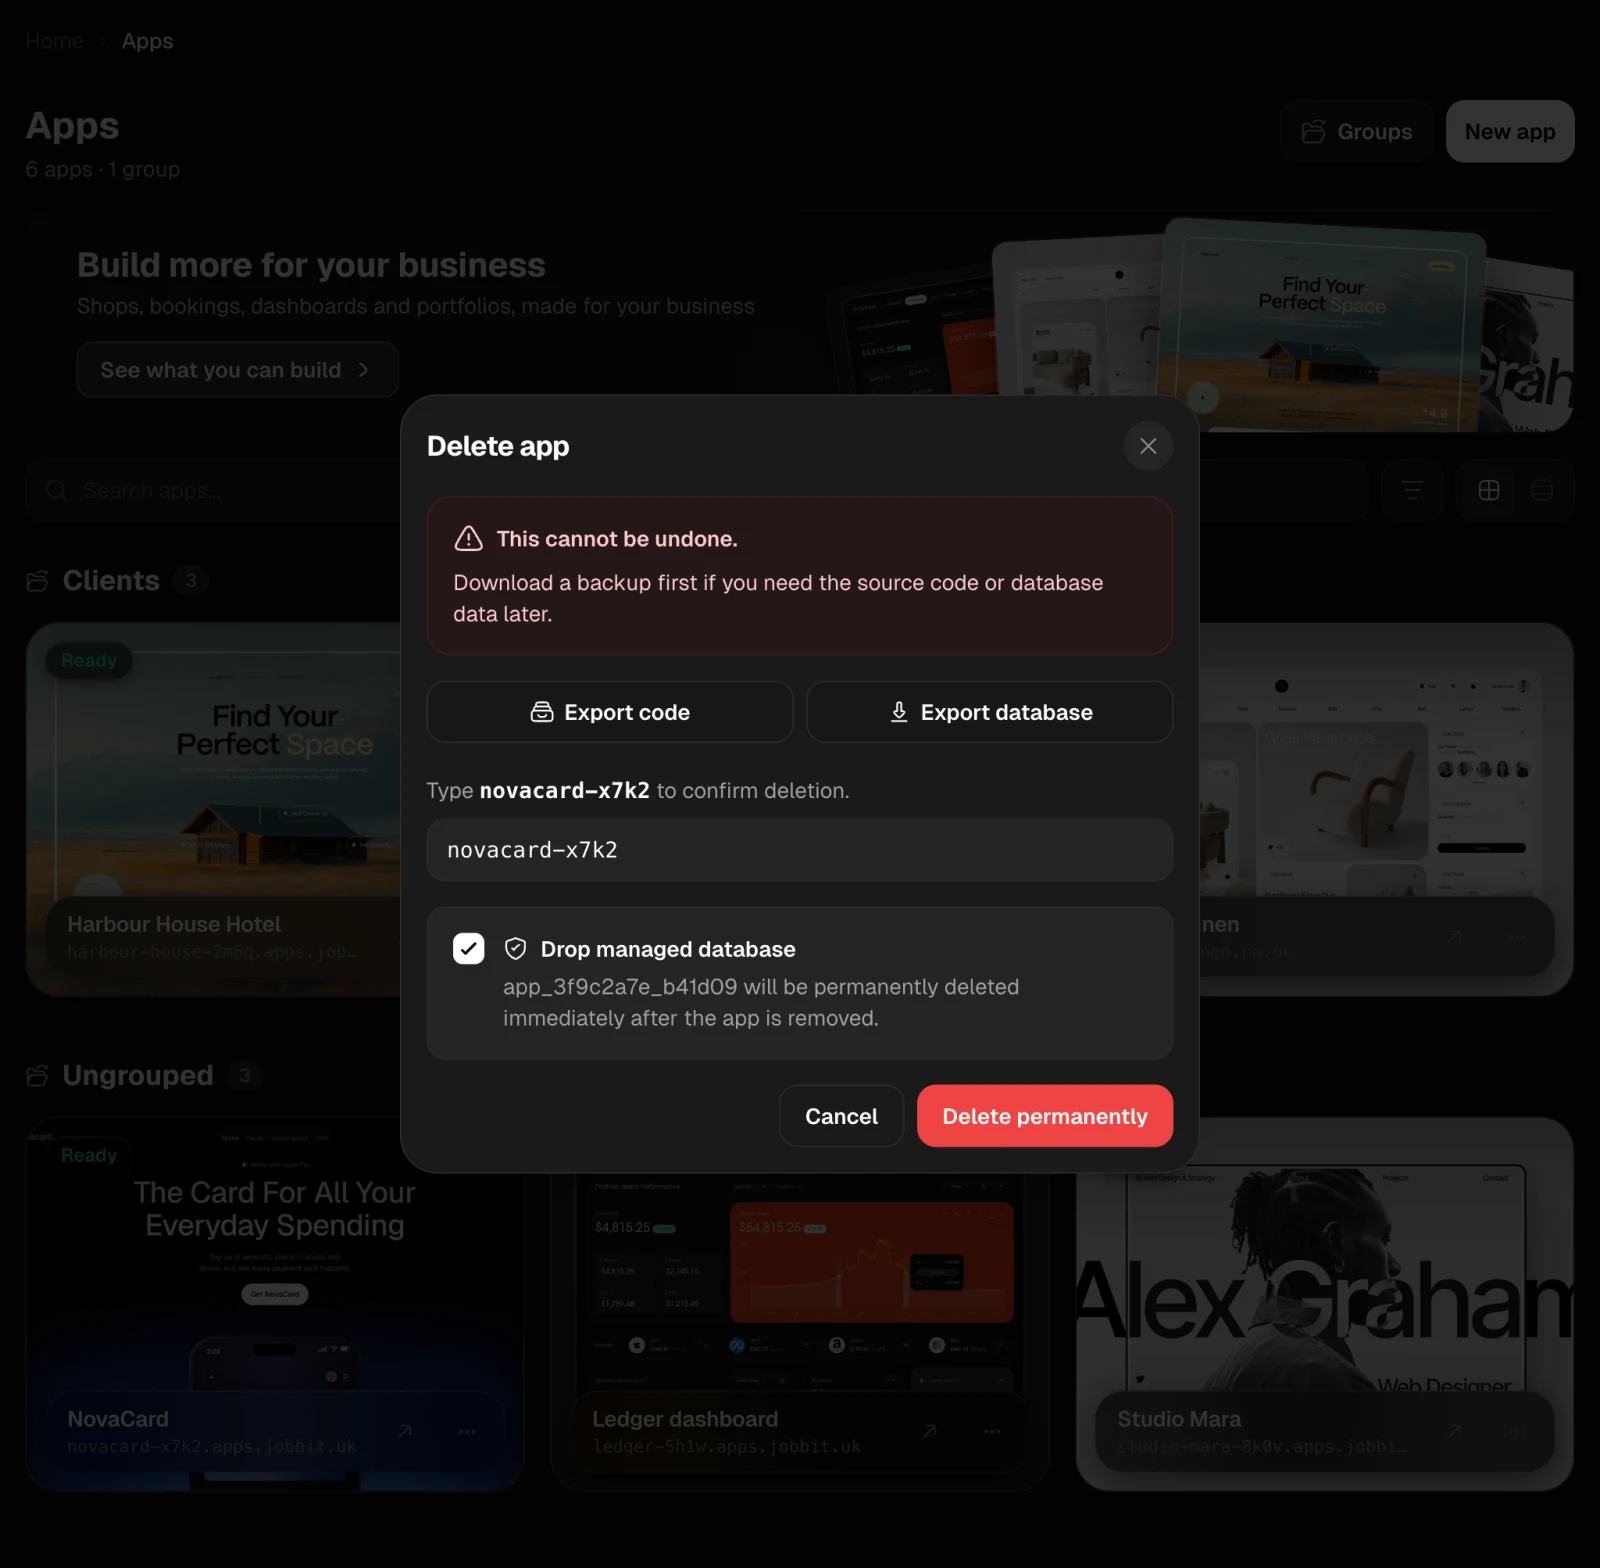
- Use Export code and Export database if you may need the source or the data later.
- Type the app’s name to confirm.
- Leave Drop managed database ticked to delete the database with the app, or untick it to keep the database.
- Choose Delete permanently.